f1 cota: Why Circuit of The Americas remains a singular stop on the calendar
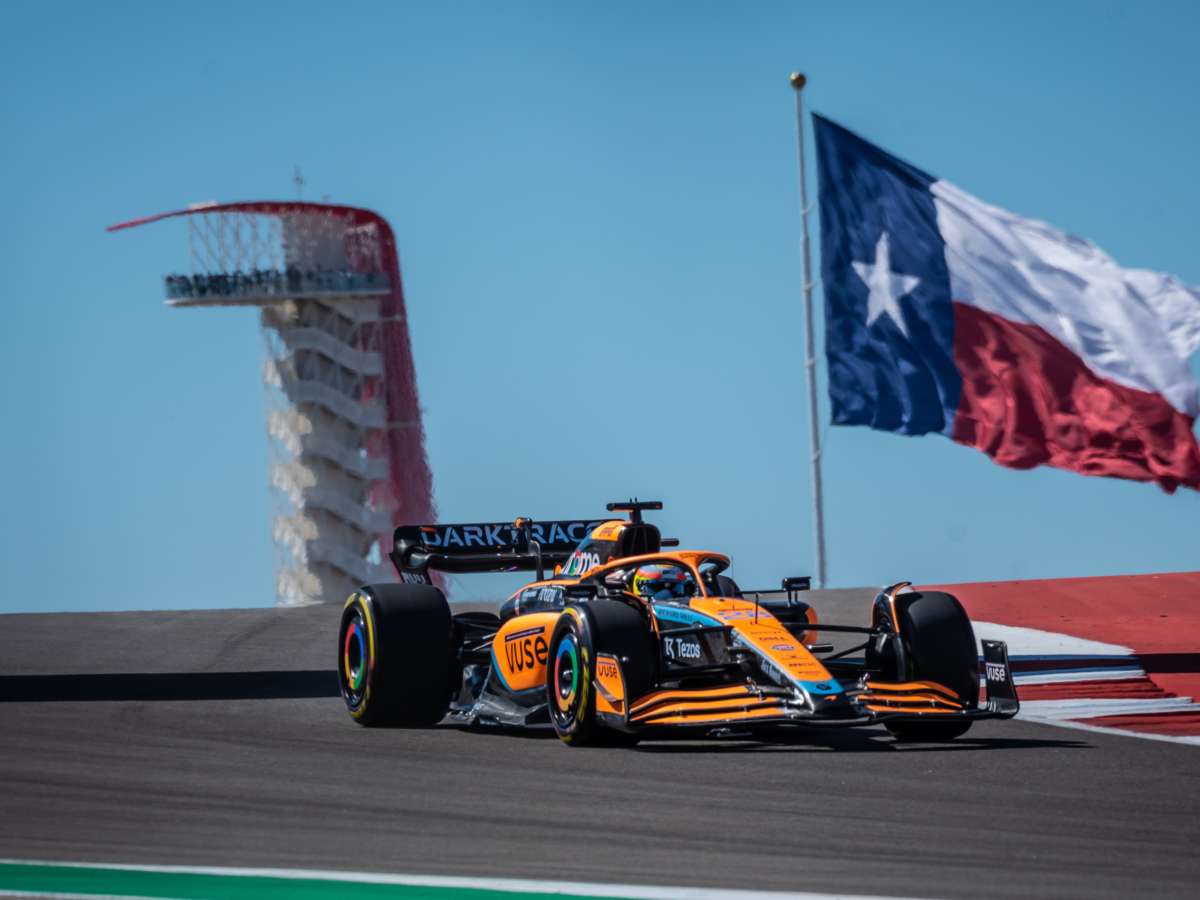
The Circuit of The Americas (COTA) is one of the clearest examples on the Formula 1 calendar where layout logic directly forces setup compromise and defines race behaviour. Purpose-built for modern grand prix racing and first used by the FIA Formula One World Championship in 2012, COTA's 20-turn, 3.41-mile counterclockwise layout couples a signature uphill Turn 1 with a rapid esses sequence and a long back straight into heavy braking — a combination that makes certain sectors lap-defining and certain setup choices unavoidable.
Quick summary: COTA demands a balance between low drag for the long straight and high downforce/ride compliance for the esses and technical final sector. The uphill Turn 1, the esses and the back straight into Turn 11/12 are the primary lap-defining zones.
Key focus: aerodynamic balance, suspension compliance, brake cooling and tyre management.
Quick access:
FIRST READING OF THE CIRCUIT•CORNER RHYTHM AND SPEED PROFILE•SETUP TRADE-OFFS•OVERTAKING, DRS, AND RACECRAFT
FIRST READING OF THE CIRCUIT
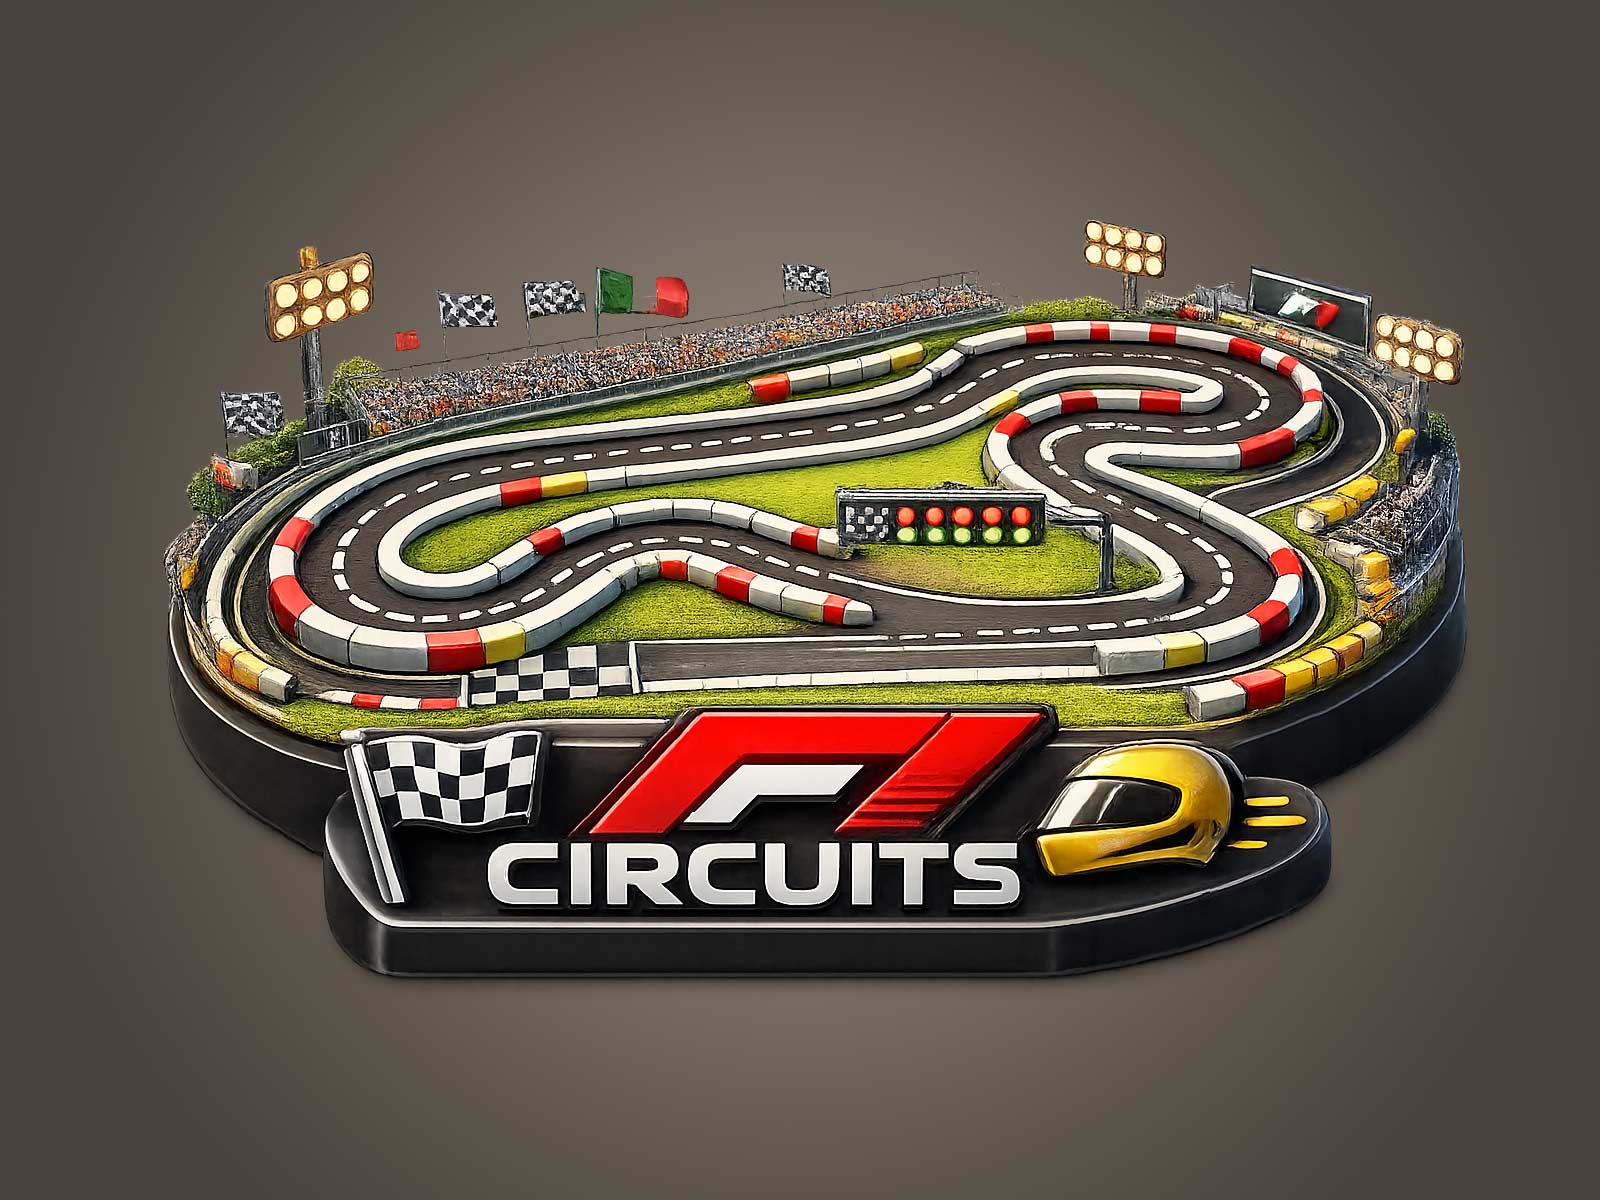
COTA is a purpose-built, counterclockwise facility near Austin, Texas, measuring 3.41 miles (approximately 5.516 km) with 20 turns. The venue's most visible DNA is the steep uphill run from the start/finish to Turn 1: a wide, uphill left-hander that affects braking loads, rider visibility and overtaking potential. The track was introduced to the F1 calendar in 2012 and is designed to combine high-speed rhythm with slower technical sections in a single lap.
CORNER RHYTHM AND SPEED PROFILE
The lap divides into contrasting zones. Early on, a medium- to high-speed esses sequence requires aero stability and ride compliance to carry speed through transitions. Mid-lap features a long back straight that produces the highest speeds of the lap, feeding into a heavy-braking zone at Turn 11/12. The final sector contains slower, more technical corners that ask for mechanical grip and rotation. This mix means time can be gained either by cleanly carrying speed through the esses or by exploiting top speed and braking into the hairpin; both approaches point to different car set-ups.
BRAKING ENERGY AND TRACTION DEMANDS
The long straight into Turn 11/12 and the uphill approach to Turn 1 concentrate braking energy into a few key stops each lap. These heavy-braking points demand stable brake bite and cooling; they also expose any instability caused by low-downforce choices. Traction matters out of the slower final-sector corners and hairpins where getting the power down without overheating tyres influences lap time. In short, braking stability and exit traction are both decisive in the sectors that create overtaking chances.
KERBS, SURFACE, AND TRACK EVOLUTION
COTA's surface is relatively smooth but includes kerbs and undulations. Kerb use plays a tactical role: aggressive kerb riding can help rotation in slow corners but risks unsettling the car through the esses and final sector. Because the venue is exposed and open, track temperature variability and surface evolution across a weekend affect grip levels, so teams watch kerb strategy and suspension compliance to preserve consistent behaviour from practice to race.
SETUP TRADE-OFFS AND CAR COMPROMISES
The headline compromise at COTA is aerodynamic: teams must decide how much drag to sacrifice for higher downforce. Low-drag setups favour the long straight and the DRS-assisted opportunities it creates, while higher downforce and stiffer suspension help through the high-speed esses and the technical final sector. Suspension compliance is also critical because the kerbs and undulations demand enough compliance to keep tyre contact under load without losing precision through rapid direction changes. Brake cooling choices interact with aero and wheel energy; inadequate cooling risks brake performance drop in the heavy-braking zones.
OVERTAKING, DRS, AND RACECRAFT
COTA's primary overtaking windows are defined by the uphill Turn 1 and the long back straight into Turn 11/12. Turn 1's uphill entry and wide apex create a classic braking-zone pass opportunity: drivers can use slipstream or a stronger initial brake phase to attempt a move, but they need stable front-end grip to make it stick. The back straight feeds Turn 11/12 where low-drag choices and slipstreaming produce high-speed passing attempts that then test braking stability. In both cases, track position and clean execution through the esses or final sector determine whether an overtake succeeds.
TYRES, COOLING AND RACE BEHAVIOUR
The mixed nature of the circuit — fast and slow corners, heavy braking and long straights — places varied demands on tyres. Teams must manage thermal load and degradation through a stint while preserving braking performance and tyre life. The open site leads to variable track temperatures and affects tyre warming and cooling; this, combined with the braking demands, shapes stint-length decisions and stop strategy in a race weekend context.
CLOSING INTERPRETATION
What makes COTA singular is the clarity of its contradictions: uphill Turn 1, the high-speed esses and a long straight are not just interesting features on paper — they are the concrete reasons teams face a repeated trade-off between low drag and mechanical/aero stability. The lap-defining zones (the esses, Turn 1 and the straight into Turn 11/12) reveal which car philosophies and setup choices will work on any given weekend. Understanding COTA means understanding that the fastest lap often comes from the best compromise rather than the absolute best performance in a single sector.
Author: William L.