Understanding Why Monza F1 Remains a Unique Stop: Circuit Logic, Setups and…
Monza is widely regarded as the fastest circuit on the Formula 1 calendar and its character forces teams into a very specific set of choices. High full-throttle time, long straights and heavy braking zones create a distinct setup logic: low downforce to maximise top speed, careful brake and cooling management, and attention to exit speed through a handful of key corners that often decide the running order.
FIRST READING OF THE CIRCUIT
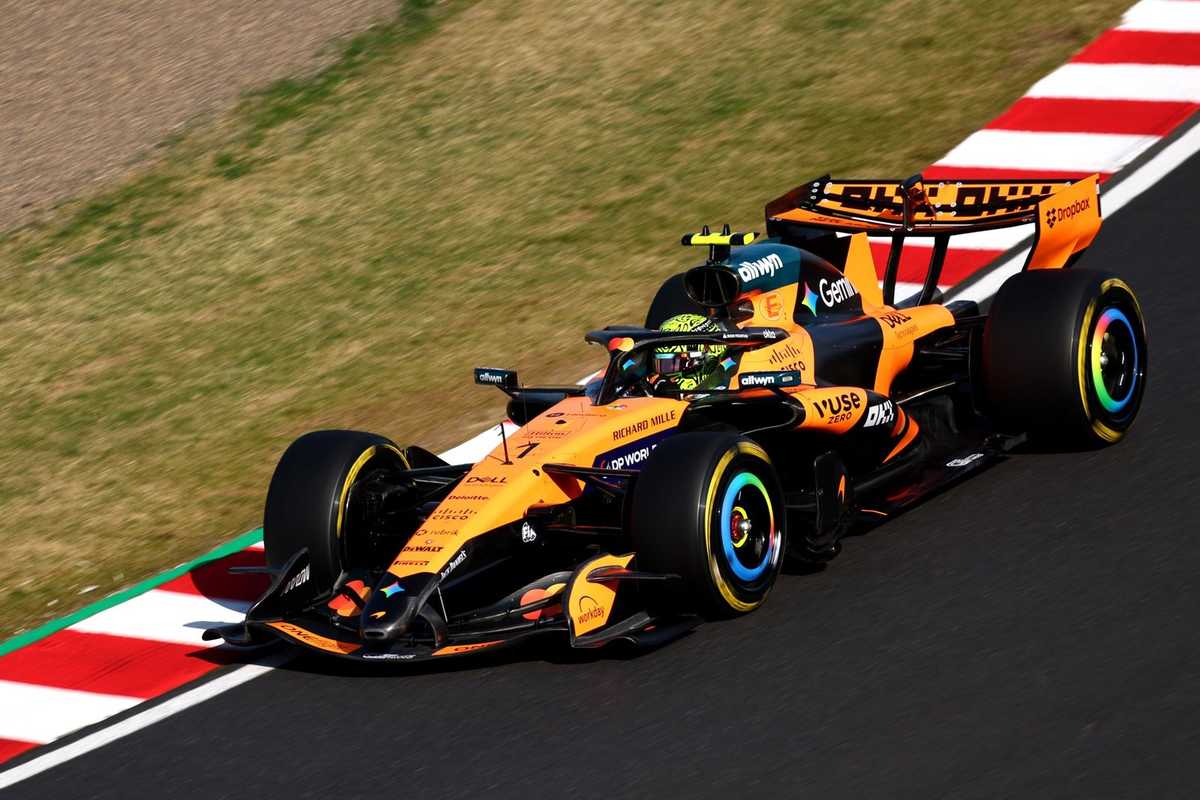
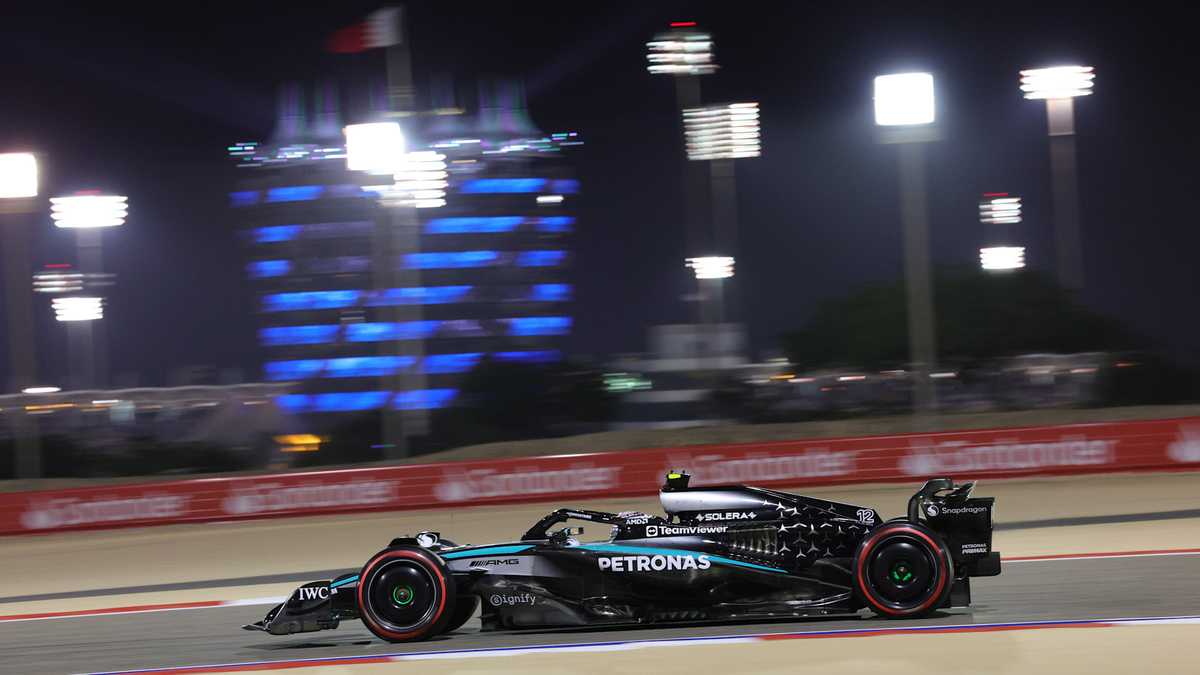
At first glance Monza’s defining trait is raw speed. The circuit is described in technical sources as the lowest-drag event on the calendar, with cars at full throttle for a very large fraction of the lap. That characteristic drives the universal decision to build a specialised low-downforce, low-drag Monza package rather than use a standard aero setup.
CORNER RHYTHM AND SPEED PROFILE
Monza’s layout juxtaposes two very long straights with a handful of medium- to high-speed corners: Curva Grande, the two Lesmo turns, the Ascari complex and the Parabolica (Curva Alboreto). The lap rhythm is therefore about momentum maintenance rather than continuous high downforce cornering. Where downforce still matters is in transitions and exits: maintaining speed out of Lesmo 2 and Ascari feeds the long straights and directly affects top speed and slipstream potential.
BRAKING ENERGY AND TRACTION DEMANDS
Long full-throttle runs into heavy braking zones make brakes a central concern. Teams must balance smaller brake ducts and tighter cooling to reduce aerodynamic drag against the need to keep brakes within safe temperature windows. That balance affects tyre behaviour too, since braking stability and tyre temperatures influence traction onto the following straights and through the technical parts of the lap.
KERBS, SURFACE, AND TRACK EVOLUTION
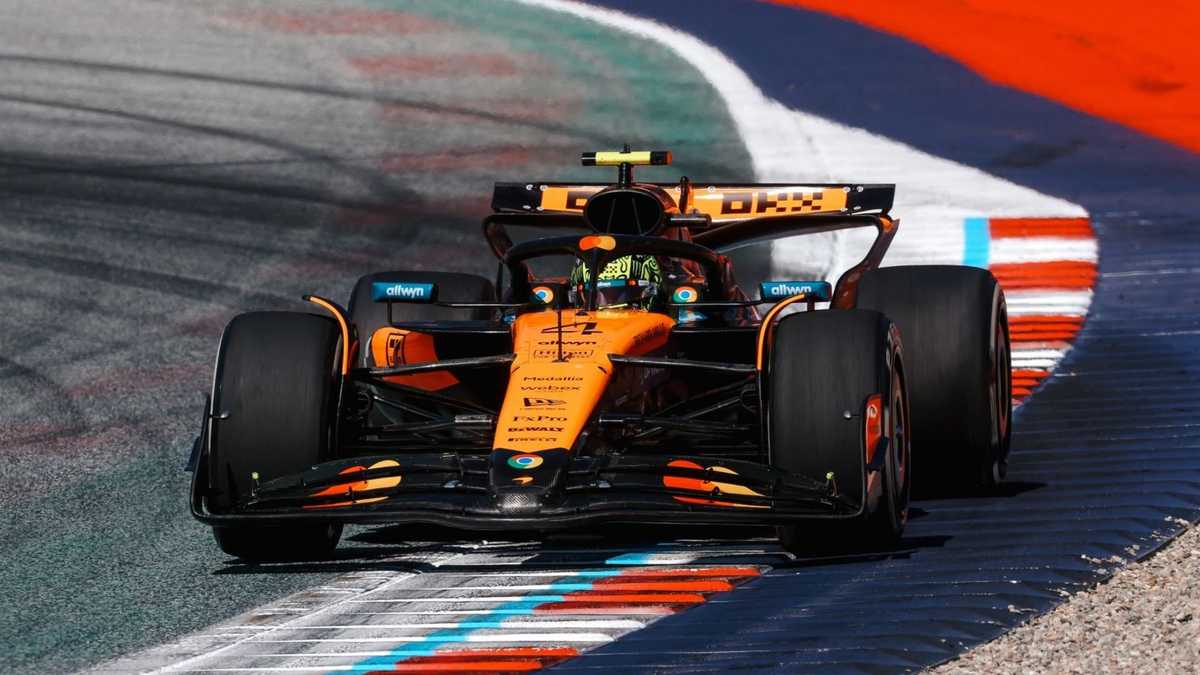
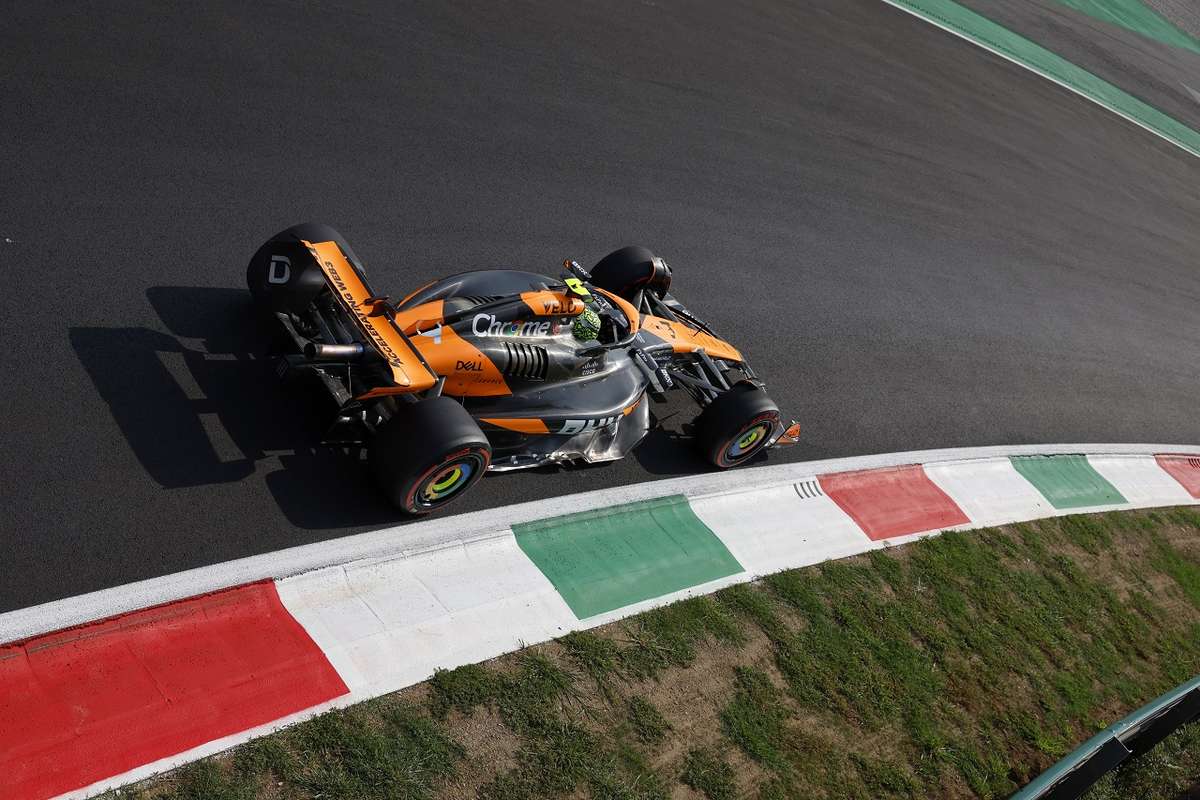
Monza’s surface and classic kerb placements reward clean lines and controlled kerb use at the medium-speed corners. The circuit’s temple-of-speed profile tends to produce visible track evolution across a weekend as rubber comes in on the racing line, increasing grip where exit speed matters most. Teams watch those changes closely because even small gains on exit can translate into significant straight-line advantage.
SETUP TRADE-OFFS AND CAR COMPROMISES
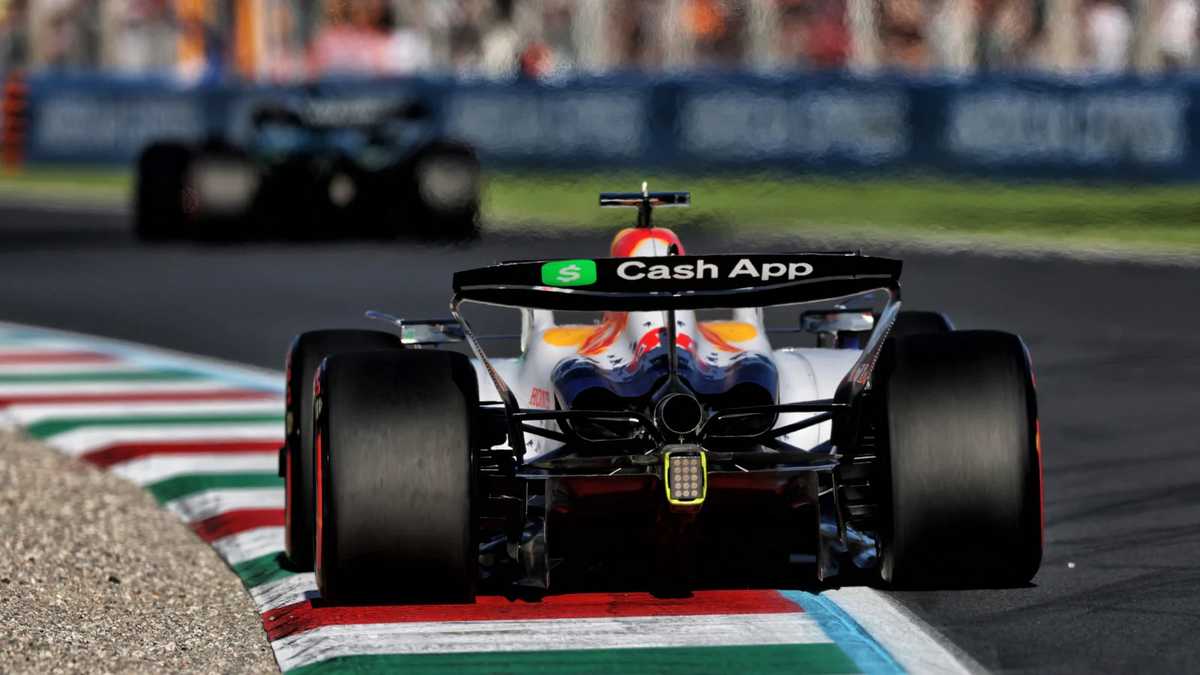
The standard engineering response is a Monza-specific aero kit: dedicated rear wings with fewer elements and altered endplates, plus general wind-tunnel work to minimise drag. But low drag cannot be pursued in isolation. Teams tune rake, ride height, wing levels and underfloor balance to reach an efficient compromise between straight-line speed and enough downforce for medium-speed stability. Technical commentary on Monza emphasises that small changes to rake or wing area have outsized effects at this venue.
Brake duct size is another explicit trade-off: smaller ducts reduce drag but restrict cooling. The interaction between brake cooling choices and tyre management is a practical constraint on setup because overheating brakes or tyres can force different stint strategies and affect consistency.
TYRES, THERMAL LOAD, AND STINT SHAPE
Because the track is low downforce and places emphasis on top speed, tyre heating and degradation follow a different pattern than at high-downforce circuits. Mechanical grip and traction management through Ascari and Parabolica influence tyre life more than sustained lateral load seen elsewhere. Teams therefore weigh whether sacrificing some cornering downforce to preserve tyres and improve exit speed is worth the straight-line deficit.
OVERTAKING, DRS, AND THE PORTIONS THAT DECIDE THE HIERARCHY
Certain parts of the Monza lap consistently determine performance and overtaking opportunities. The run from the end of the Rettifilo (Turn 2) through Curva Grande is the primary slipstreaming zone where low drag and DRS effectiveness combine to create passing chances. Exit from Lesmo 2 is crucial because it feeds the long straight to Variante Ascari; a strong exit there yields a measurable speed advantage. The Ascari complex itself demands good mechanical balance and traction, and the Parabolica exit largely sets the top-speed approach down the main straight, influencing both qualifying lap time and race positioning.
Because of the slipstream effect and those critical exits, teams sometimes adopt different wing levels based on race plan: some take extreme low drag to maximise DRS-assisted overtaking potential, while others accept a bit more downforce to protect tyre life and corner speed. Both choices are defensible depending on car concept and strategy.
HISTORICAL AND COMPETITIVE CONTEXT
Monza’s identity as the ‘temple of speed’ has been recognised across technical analyses and circuit guides. Historically the circuit forces a visible divergence in team approaches: wind-tunnel and aero resources are routinely dedicated to Monza-specific items because the gains from reduced drag are larger here than at most other venues. The net competitive consequence is that Monza often amplifies differences in power unit efficiency, aerodynamic packaging and low-speed traction management among cars.
CLOSING INTERPRETATION
Monza F1 remains unique because its geometry concentrates performance value into a handful of measurable items: low-drag wings and bodywork, brake and cooling compromises, and the ability to convert corner exits into straight-line advantage. The available technical evidence suggests that mastering those trade-offs, and choosing the right balance of wing, rake and cooling for a given car concept, is what separates a competitive weekend from a compromised one at this circuit.
Author: Cynthia D.