How tracks reveal Red Bull Racing F1 strengths: which circuits suit their design
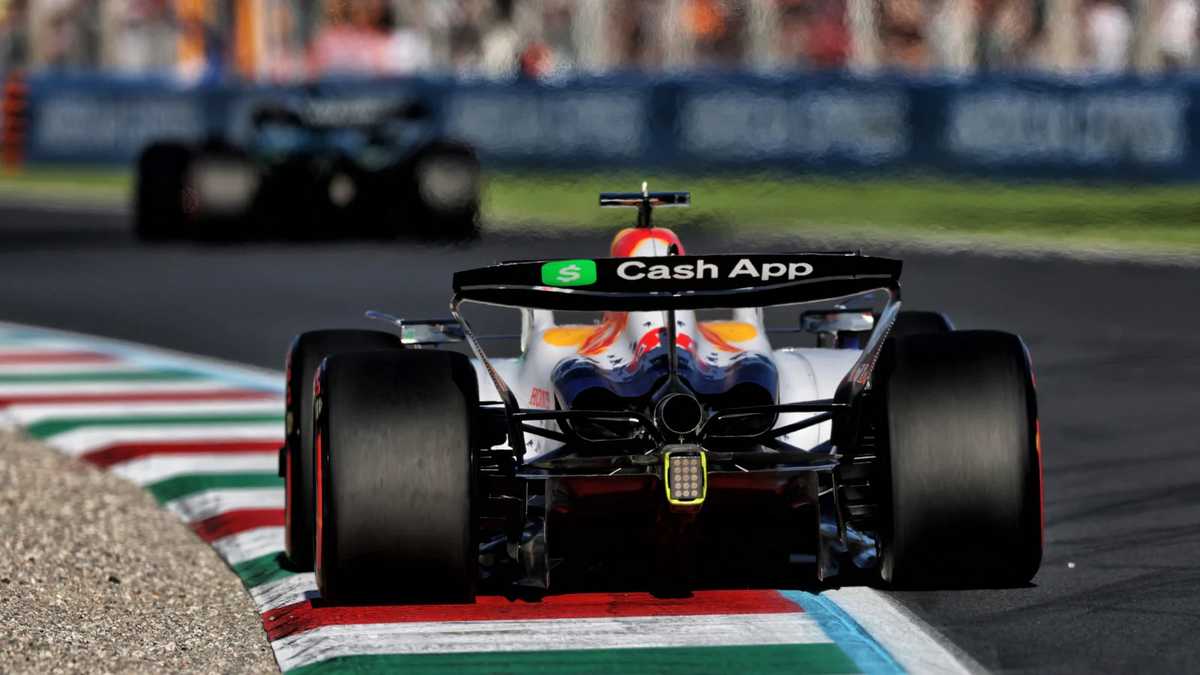
Red Bull Racing's recent ground‑effect cars are defined by very high, efficient downforce generated through floor/venturi performance. That aerodynamic identity shapes where the team looks strongest and which circuit features expose a car's decisive qualities: aero grip, ride/traction sensitivity and drag efficiency. This article explains, in concrete F1 terms, how different track types bring Red Bull's strengths and compromises into focus.
Ground‑effect floor/venturi downforce, high rake philosophy, strong cornering downforce, and sensitivity to ride and traction are the key technical anchors for Red Bull's recent cars.
FIRST READING OF THE CIRCUIT
At first glance the circuits that best showcase Red Bull Racing F1 strengths are those that reward sustained aerodynamic grip and penalise poor floor performance. The team's recent cars, built around ground‑effect floor/venturi principles, produce very high downforce and favour a high‑rake, efficient‑floor philosophy. That makes them immediately advantaged where lap time is won through cornering aerodynamic load rather than outright straight‑line power alone.
CORNER RHYTHM AND SPEED PROFILE
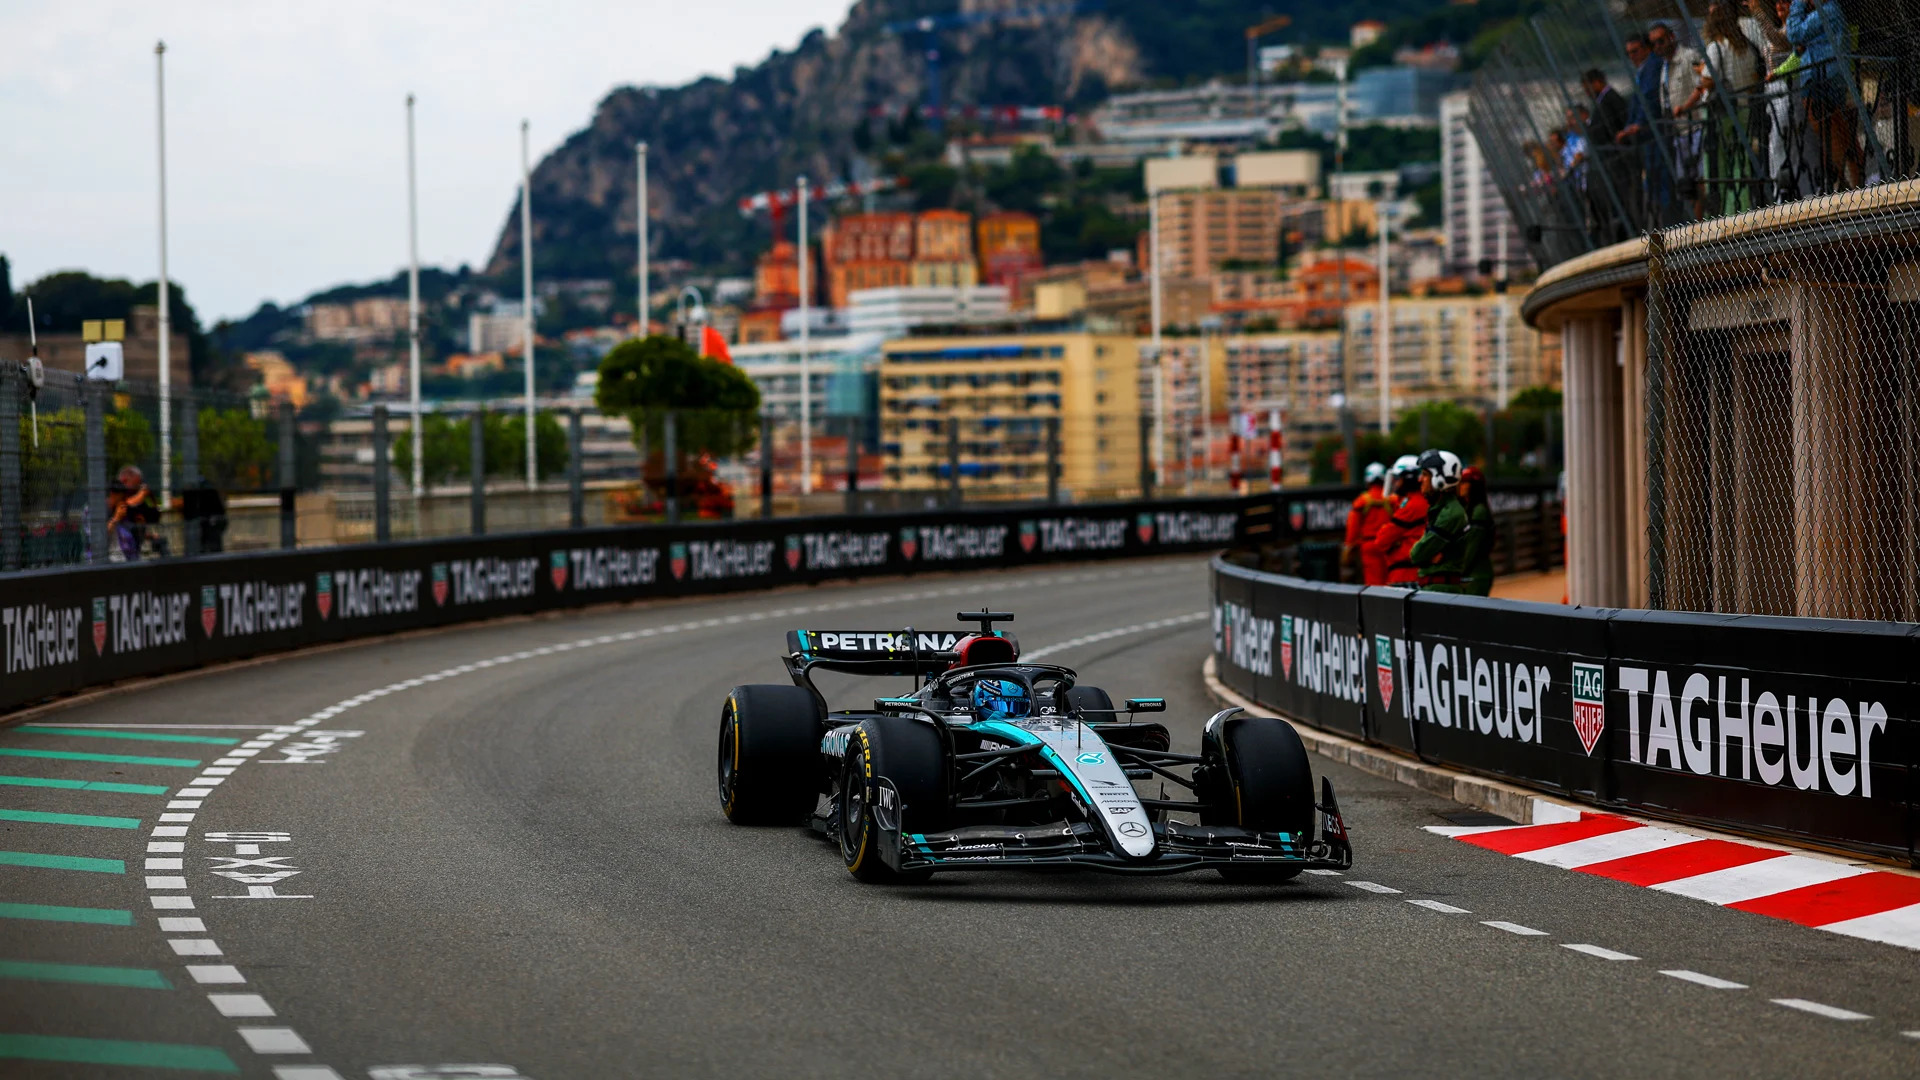
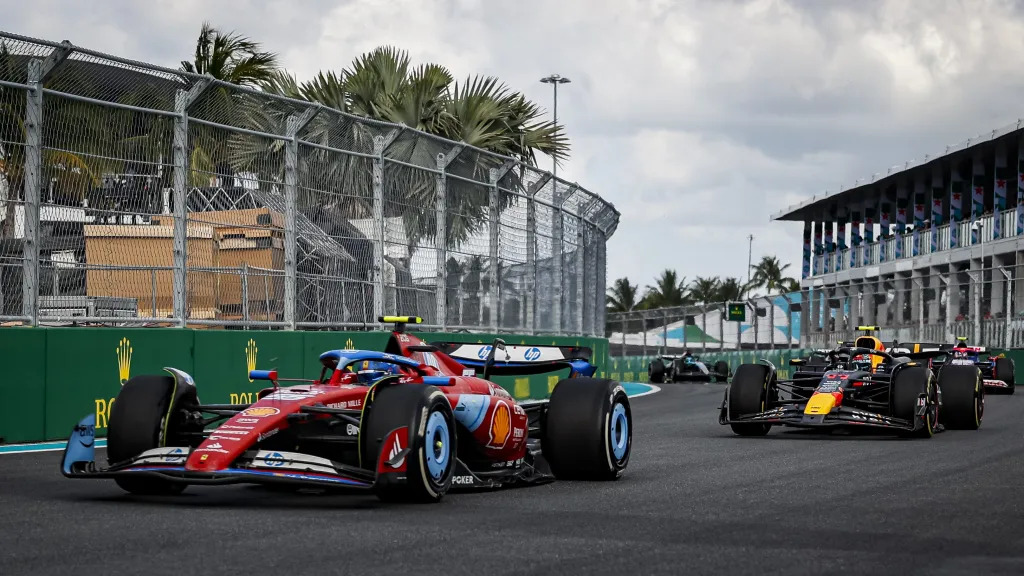
Tracks dominated by medium and low‑speed corners or long, flowing sequences put a premium on consistent downforce and transitional stability. Red Bull's focus on extracting floor downforce means time is made by carrying speed through linked high‑load corners and by keeping aerodynamic balance under yaw and load transfer. Conversely, circuits punctuated by long straights still test aero efficiency: because Red Bull's concepts emphasise high downforce with controlled drag, they can remain competitive on power tracks when the package manages drag well.
BRAKING ENERGY AND TRACTION DEMANDS
High levels of aerodynamic grip change the balance between braking and traction work. Where a circuit demands repeated heavy braking into slow corners, a car that relies on downforce must pair that aero with a mechanical setup that protects the tyres and delivers predictable traction. The verified evidence indicates Red Bull's cars can generate more cornering downforce than tyres can always cope with, which increases sensitivity to ride height, suspension and differential settings when launching out of slow corners.
SETUP TRADE‑OFFS AND CAR COMPROMISES
Because Red Bull extracts downforce efficiently while controlling drag, teams face classical trade‑offs: maximise downforce for mid‑corner speed or trim the car for lower drag on long straights. The car's high‑rake, efficient‑floor philosophy also creates ride‑height and traction sensitivity. That means mechanical setup—damping, spring rates, anti‑roll and differential—must be tuned to stop the aero from outstripping tyre load capacity. In practice this forces compromises: a setup that unlocks ultimate cornering in high‑downforce sectors can expose the tyres to higher thermal and lateral loads, while a more conservative mechanical baseline aids tyre life but costs mid‑corner speed.
TYRES, THERMAL LOAD, AND STINT SHAPE
The available analysis suggests the interplay between high aero load and tyre capability is crucial. If a car generates more downforce than the tyres can use effectively, lateral and thermal overloads follow, changing stint shape. Tracks that produce sustained lateral loading will therefore tend to reveal whether Red Bull's aero advantage translates into durable race pace or into peak‑lap performance that requires careful tyre management. The team must manage tyre degradation through setup choices and race strategy when aero levels push tyre limits.
OVERTAKING, DRS, AND RACECRAFT
On circuits where aerodynamic downforce dictates lap time, the key to passing is getting good exit traction and using that to exploit DRS or slipstream opportunities on following straights. Because Red Bull cars can combine high cornering downforce with relatively low drag for their downforce level, they can both carry speed through corners and still be effective on straights when trimmed. However, where mechanical grip and kerb management dominate—such as tight, twisty sections—cars that are less sensitive to ride and traction may offer clearer passing windows. In short, aero‑dominated tracks amplify the importance of clean exits and aero efficiency; mechanical‑heavy tracks expose ride and kerb compromises.
HISTORICAL AND COMPETITIVE CONTEXT
Across the ground‑effect era described in team and media sources, Red Bull's design choices around floor/venturi tunnels and high rake have been cited as central to their competitiveness. Published material from Red Bull Racing and analysis in the press explain how the 2022 aerodynamic reset and subsequent developments allowed that philosophy to become a performance differentiator. The pattern in reporting shows Red Bull performing exceptionally at aero‑demanding circuits while also leveraging aero efficiency to remain competitive on some power‑biased tracks.
CLOSING INTERPRETATION
Reading a circuit through the lens of Red Bull Racing F1 is therefore a practical exercise: if the lap is won by aerodynamic grip—long flowing turns, sustained lateral load, sensitive transitions—their car concept tends to shine. If the track's challenge is mechanical compliance, kerb punishment or raw top‑end power without reward from sustained aero, different weaknesses surface. The verified evidence supports a simple diagnostic: high‑downforce tracks and those that reward aero efficiency reveal Red Bull's decisive strengths; twisty, kerb‑and‑ride heavy circuits, and pure power circuits, test the limits of their compromises in different ways.
Author: Cynthia D.