Which Circuits Best Showcase Red Bull F1: Reading a Track Through Their…
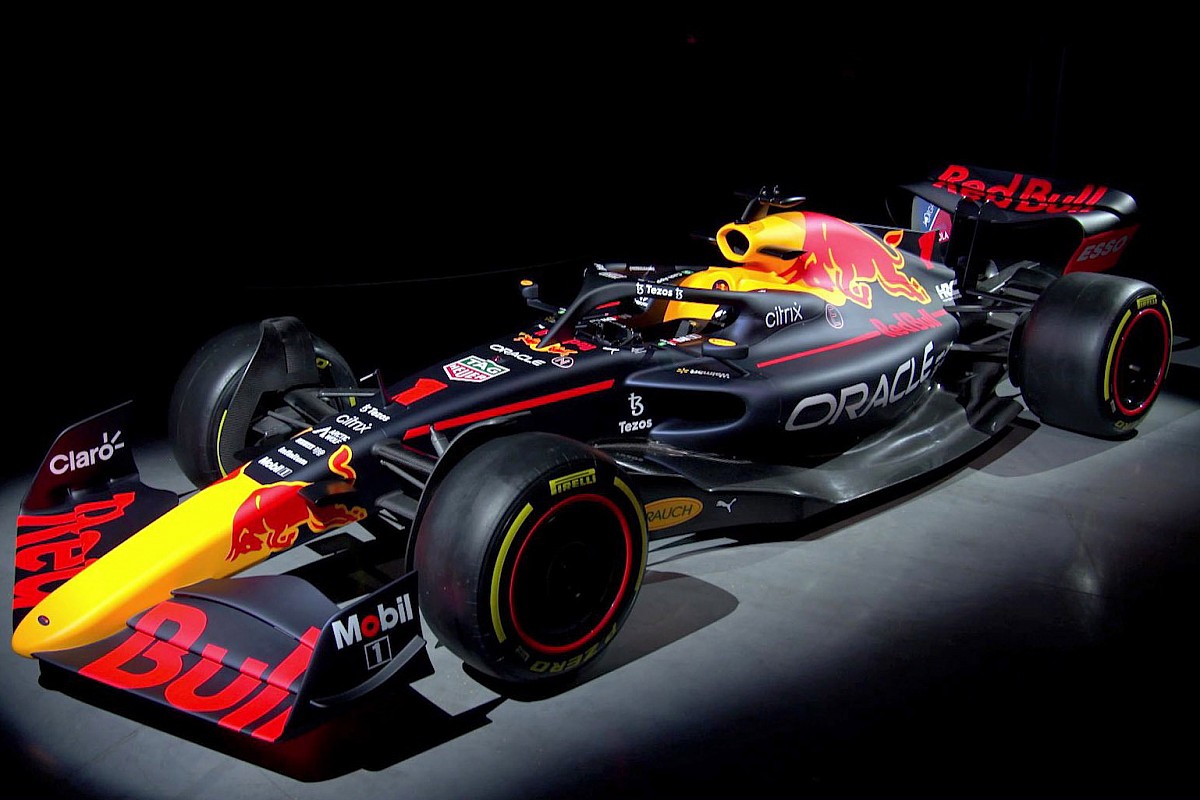
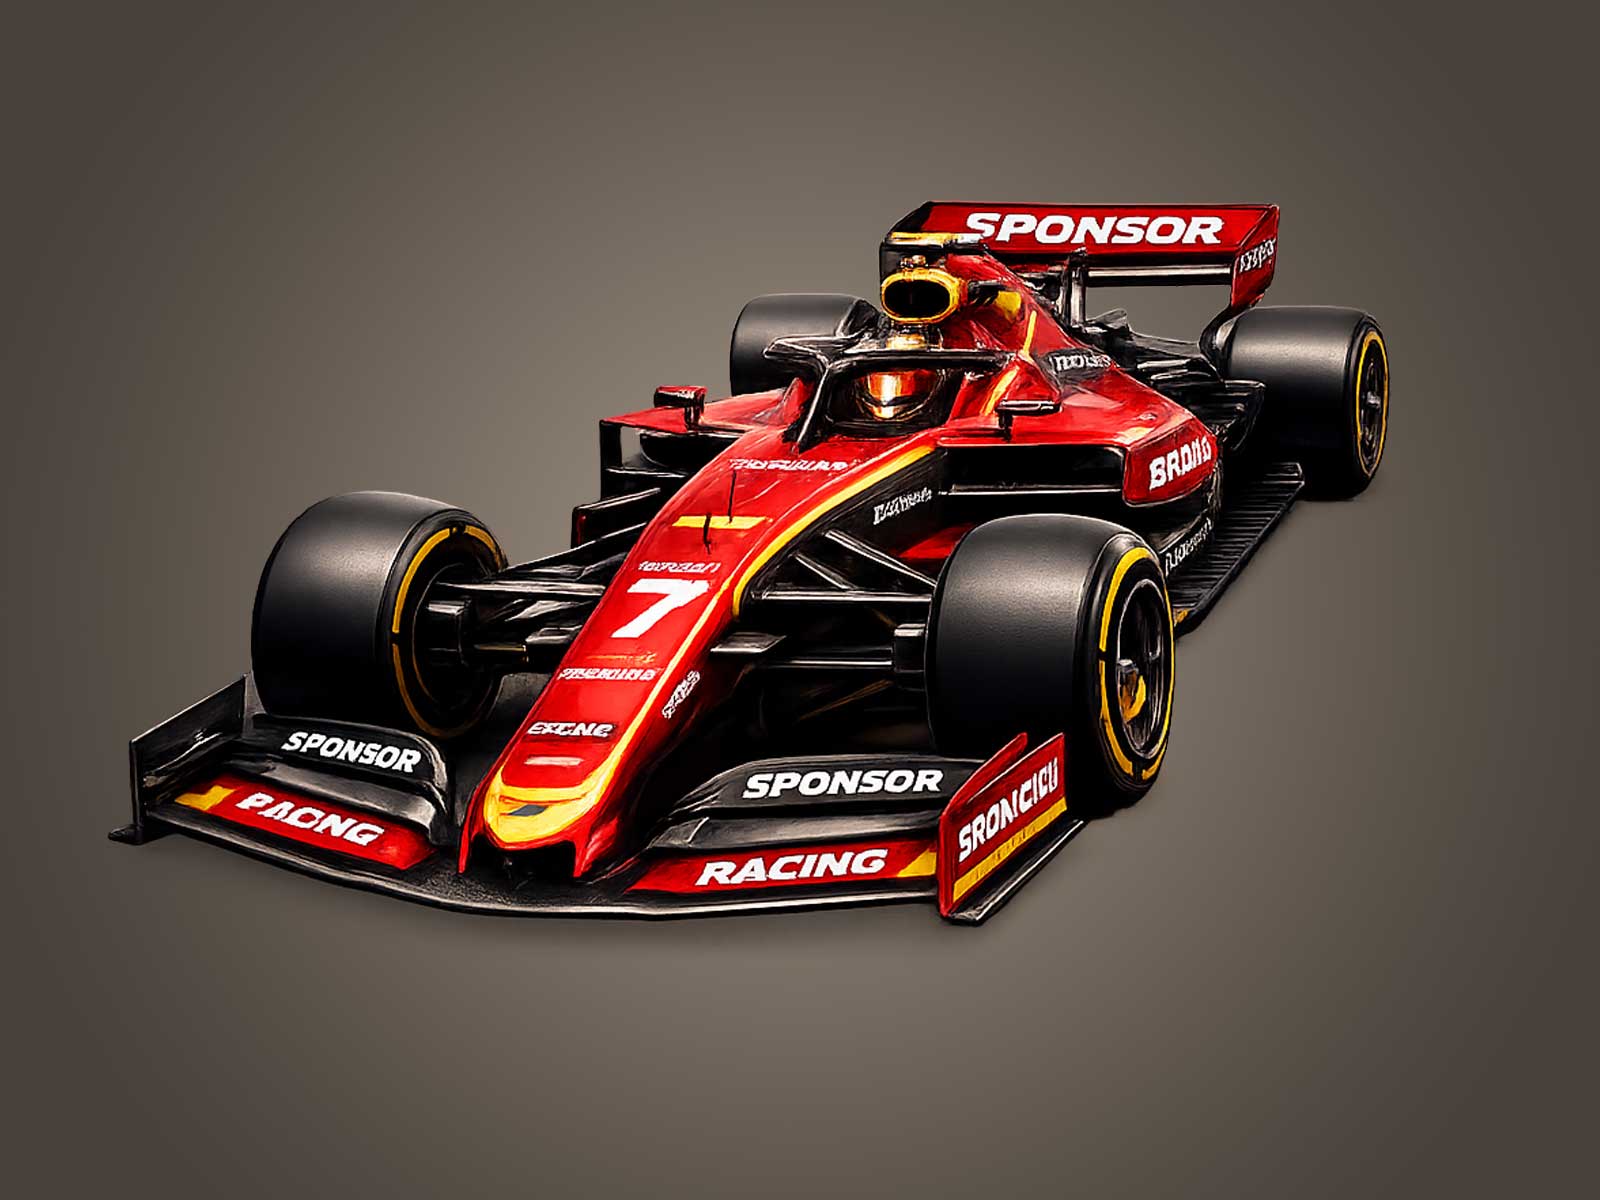
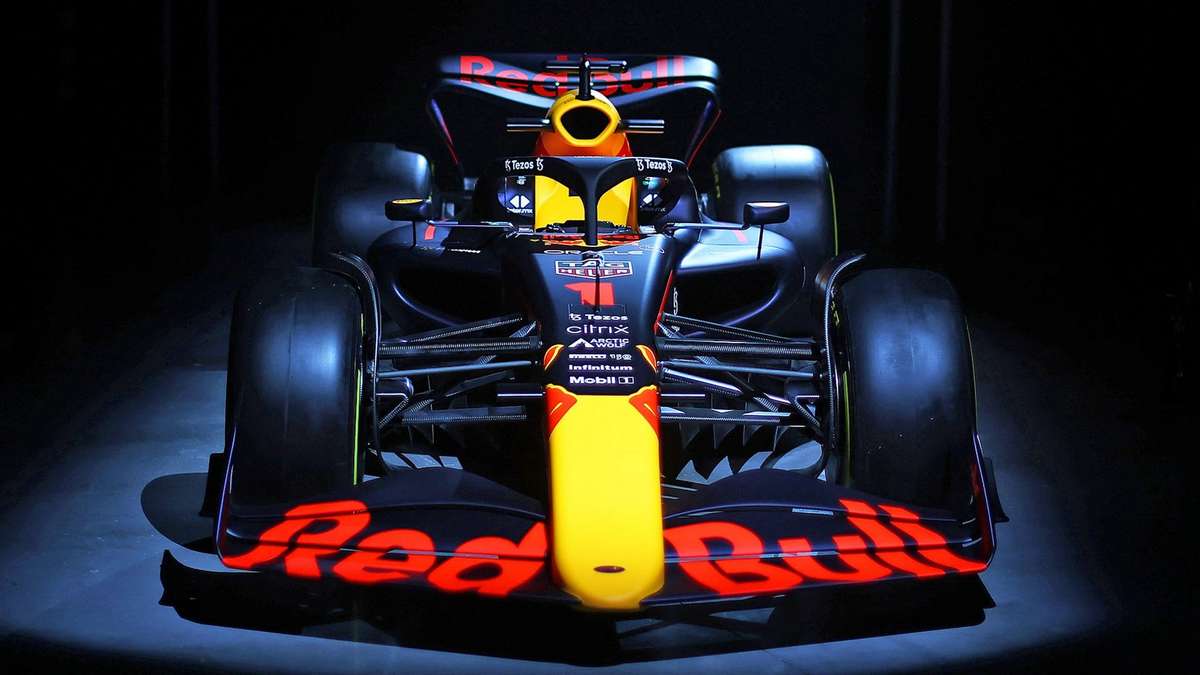
Red Bull Racing's recent dominant cars have shown a clear aerodynamic identity: high aero efficiency and a stable floor/ride-height behaviour. That combination isn’t an abstract advantage — it maps onto specific circuit types and lap characteristics. This article explains, in practical F1 terms, which tracks magnify Red Bull’s strengths, where their package asks for compromises, and which on-track zones create the decisive time gains.
Red Bull’s high downforce per drag and stable floor behaviour mean long, flowing high-speed sections and aero-sensitive corners usually amplify their advantage. Tight low-speed street tracks and extreme power- or ride-height-sensitive layouts can reduce the edge.
First reading of the circuit · Setup trade-offs · Overtaking, DRS & racecraft
First reading of the circuit
When you look at a lap with Red Bull's aerodynamic strengths in mind, you are checking for where downforce per unit drag and floor stability will earn time. Long, flowing high-speed sequences and corners that reward clean aerodynamic flow are the immediate clues. The verified technical reporting on Red Bull cars shows their platform produces strong downforce while keeping drag relatively low — a profile that turns time into sustained cornering speed rather than short, brutal traction bursts.
Corner rhythm and speed profile
Circuits that feature long high-speed stretches and linked medium-to-high-speed corners allow Red Bull’s aero efficiency to generate lap-wide gains. The pattern to watch is momentum-based: where a car can carry aero-generated load through several corners without repeated heavy braking, the aero advantage compounds. By contrast, layouts that repeatedly interrupt momentum with many tight, low-speed turns shift reward toward mechanical grip and traction instead of sustained aero.
Braking energy and traction demands
Red Bull’s recent cars are described as combining downforce efficiency with stable floor and ride-height behaviour. That stability helps through high-speed transitions and under braking where aerodynamic load remains consistent. On tracks dominated by repeated hard stops and strong traction exits, the balance moves toward mechanical setup and powertrain driveability; those venues tend not to multiply the specific aero advantage highlighted in the technical analyses.
Setup trade-offs and car compromises
The verified reporting suggests Red Bull’s philosophy produces measurable benefits where aero efficiency is decisive, but it also requires compromises. Teams must choose between adding downforce (which can increase drag) and preserving the low-drag advantage for long straights and high-speed corners. The trade-off becomes particularly visible at circuits that mix long high-speed sections with slow corners: optimising for aero flow and stable ride height can penalise low-speed traction, while chasing mechanical grip can erode the aero efficiency that makes the package special.
Tyres, thermal load and stint shape
A car that produces downforce efficiently tends to change tyre working windows: efficient aero can reduce sliding and scrub in high-speed corners, lowering certain forms of degradation. The available technical pieces point toward Red Bull gaining when aero keeps the tyre operating in a stable envelope through fast sequences. Conversely, circuits demanding heavy braking and frequent direction changes raise thermal and wear stresses where mechanical and thermal management can blunt an aero-led advantage.
Overtaking, DRS and racecraft
Where Red Bull’s aero advantage is strongest — long high-speed sections and linked fast corners — the race becomes about track position and flow rather than repeated slipstream-and-brake-zone passing. The technical analyses identify places like Spa and Silverstone as circuits where aero-performance compounds advantage. That means DRS and strategic positioning are crucial: if a car can preserve aerodynamic performance on long runs, it converts into stronger defence and fewer opportunities for rivals to exploit pure top-speed or traction differentials in slow sections.
Historical and competitive context
Technical reviews of the RB18 and RB19-era machines have repeatedly emphasised marginal gains in aero efficiency and floor stability as the engine of Red Bull’s recent dominance. Multiple technical sources documented how those attributes translated into particularly large advantages at aero-sensitive venues. The same sources also caution that some high-speed, ride-height-sensitive layouts have exposed setup limits and weekend-to-weekend variations, so the advantage is significant but not absolute.
Closing interpretation
Reading a circuit through the lens of Red Bull’s technical strengths simplifies the question of where they will be strongest: give their cars long, flowing aero-demanding sectors and you give their low-drag, high-downforce package room to score. Tight, stop-start circuits or venues that force extreme ride-height and cooling compromises reduce that edge. The defensible takeaway from the verified technical material is clear — aerodynamic efficiency and stable floor behaviour are the decisive traits, and circuits that reward sustained aero performance will highlight Red Bull's advantage more than those that do not.
Author: Alex R.